How to pack a computer for moving? Relocating sensitive electronics across vast distances can be overwhelming, but worry not! We’ll cover everything from securing the data to choosing the right supplies, ensuring that the PC arrives at your future home safely and in perfect condition. Let’s get started with this exciting journey.
How to Pack a Computer for Moving
When planning a relocation and trying to figure out how to safely transport a PC, you’ll quickly realize how essential it is to start preparations early. This involves data backup before moving, organizing cables, and gathering suitable computer packing materials and supplies.
Disassembling external elements and boxing them up carefully is crucial, as is choosing the right box and adding sufficient cushioning for transport. Proper labeling ensures safe handling. For a stress-free experience, consider hiring professional movers to manage the packing of electronics for moving.
Start With Preparations 1-2 Weeks Before the Relocation
Beginning preparations well before your moving day is crucial for a seamless transition, especially when it involves boxing up sensitive electronics. Starting early gives you ample time to efficiently handle each part of this process, ensuring nothing is overlooked. This approach not only reduces the risk of damage but also alleviates the relocation stress often associated with last-minute rushes.
Backup All of Your Important Data
Imagine losing all your photos, documents, video materials, and projects because you didn’t take enough time to upload or transfer them to safe storage. So, to prevent any loss of important information, backing up the data is vital for a stress-free relocation. Here are the steps to create a complete backup:
- Choose your backup method – select between cloud storage services or external hard drives, depending on your preference and data size.
- Perform the backup – copy all essential files, documents, photos, and software onto the chosen backup medium.
- Verify the backup – ensure that all files have been successfully transferred and can be accessed from the backup source.
- Keep your backup safe – store the backup device in a secure, easily accessible location separate from the PC.
Gather the Necessary Packing Supplies
Selecting the right supplies is a critical step in ensuring the safety of your belongings throughout shipping. Quality packing materials act as a shield, protecting the device from shocks, vibrations, and other potential damages that can occur during transit.
Keep in mind that original packaging is the best solution for relocating a PC and other components. Manufacturers utilize top-notch protective materials to safeguard these things from damage during the transport and handling process. If you’ve misplaced these items, you’ll have to find an appropriate replacement.
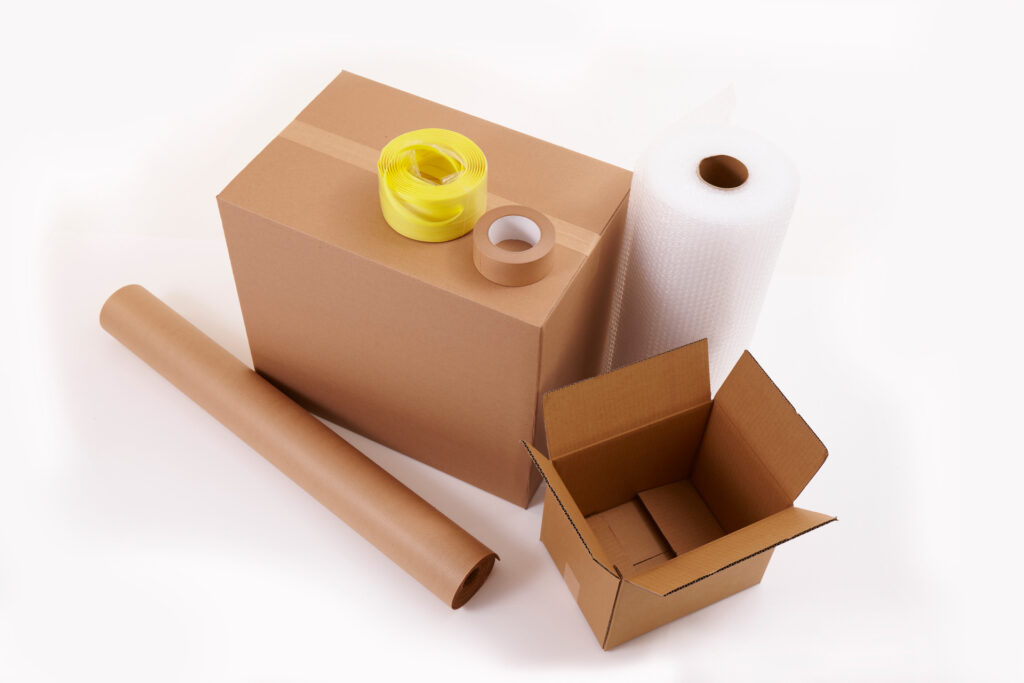
Investing in proper packing supplies is especially important for delicate components that are susceptible to impact. Here’s a list of different packing materials needed for the safe transfer of sensitive equipment:
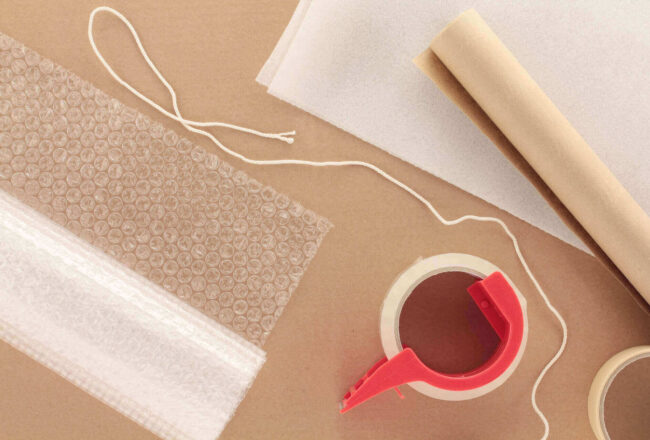
- Anti-static bubble wrap – ideal for wrapping around the tower and its components. It provides cushioning while preventing static electricity from damaging the hardware.
- Sturdy boxes – choose boxes that are slightly larger than the tower if you have misplaced the original one. This allows room for additional padding while ensuring a snug fit.
- Anti-static bags – essential for individual components like hard drives, larger CPUs, and graphics cards. They also prevent static damage.
- Foam peanuts and sheets – useful for filling in gaps in the boxes, preventing movement, and absorbing shocks.
- Sealable plastic bags – great for small items like screws, brackets, or any detached parts.
- Dust sleeves – perfect for protecting the screen of the monitor.
- Duct tape – strong tape is needed to seal the boxes securely and prevent them from opening during transit.
- Labeling materials – markers and labels to identify the contents of each box, handling instructions, and which side should face up.
- Cable ties – perfect for organizing cables and preventing their tangling.
- Cushioning materials – additional cushioning, such as blankets or pads, can provide extra protection.
Essential Disassembly and Computer Packing Tips
How to pack a computer for shipping? Well, these disassembly and moving interstate tips are vital for protecting your cherished item from potential damage. By following a systematic approach, you can ensure that each component is securely packed and safeguarded.
Disassembling some parts will not only minimize the common mistakes and risk of physical damage but also preserve the integrity of your data. These tips will make setting up the computer after a move easy and help you get back online with minimal anxiety and hassle.
Shut Down and Disconnect the Machine, and Ensure All the Internal Components Are in Place
Before you begin the boxing-up process, it’s essential to shut down the device properly. Once turned off, carefully disconnect all peripherals, such as monitors, keyboards, a mouse, and any external devices. This not only prevents damage to the ports and cables but also ensures that all components are prepared for safe relocation to a new home.
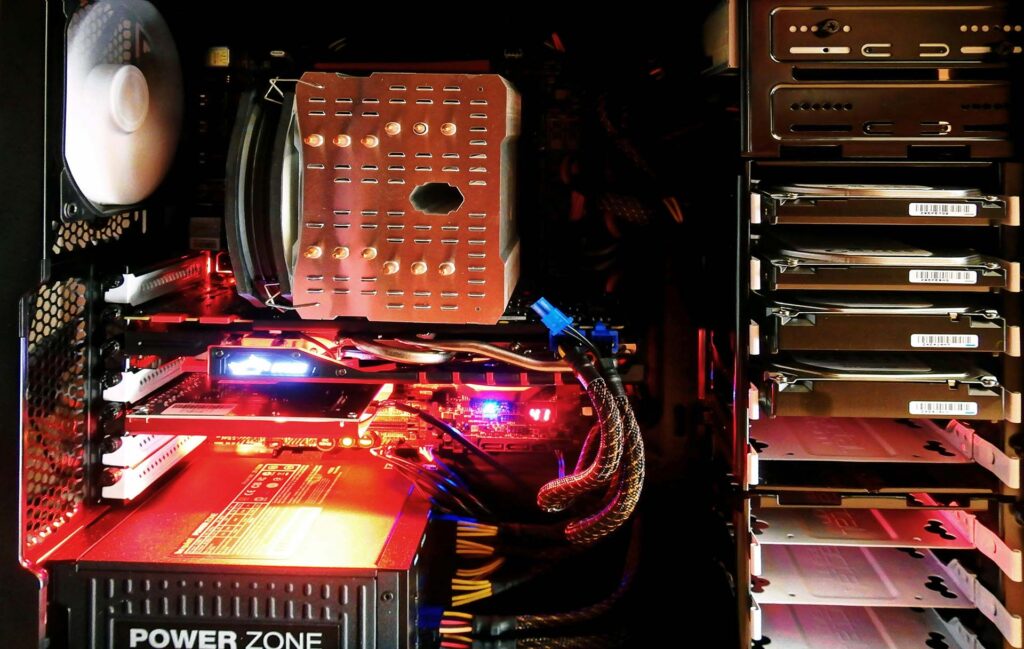
The next step would be to open the case and check that all internal components, like the hard drives, processor, and RAMs, are in place. This way, you’ll prevent these items from sliding out of their sockets, becoming disconnected, or getting damaged.
Take Out the Graphic Card and Heavier Coolers
When interstate moving, it’s essential to pay extra attention to delicate components like the graphic processing unit (GPU) and heavier cooling systems. These components, due to their weight and positioning, can exert undue stress on the motherboard during transit, potentially leading to internal damage.
As some GPUs are very pricey, like the Nvidia Titan RTX, which costs $1,800 or more, it’s important to be careful while handling these components. For the GPU, release the securing latch and gently lift it from the slot. For coolers, unscrew the mounting hardware and lift them away from the processor. Wipe off a thermal paste to prevent the dust from collecting on the CPU case.
Remove Any External Components and Label Them Properly
External components are vulnerable to damage as well. That’s why you should carefully remove items like monitors, external hard drives, coolers, DVD writers, and wireless accessories. This precaution not only protects these components from physical damage but also reduces the risk of them damaging the main unit as well.
Efficiently organizing and labeling cables and accessories will greatly simplify the setup process at the new location. Start by carefully disconnecting each cable and sorting them by type and usage. Use labels or colored tape to mark each cable. Note its corresponding port for easy identification later.
Bundle cables neatly, securing them with cable ties or rubber bands. Store them in a bag or box, effectively labeled with their respective devices. Taking pictures of your current setup can also be a handy reference for reassembling the computer system later.
Protect the Screen of Your Monitor and Wrap the Whole Item to Safeguard It From Shocks and Jolts
Begin this process by cleaning the screen to remove any dust or fingerprints. Next, cover it with a dust sleeve to protect the display surface.
Carefully encase the monitor in anti-static bubble wrap, making sure to cover all corners and edges thoroughly for added protection. Position the wrapped monitor inside a sturdy box, surrounded by ample cushioning material on every side to prevent any movement.
Pack Each Component Separately to Ensure Maximum Protection
Each component should be packed separately to ensure maximum protection. Use the original boxes and protective materials if you have them. If not, wrap each piece securely in anti-static bubble wrap and place it in a sturdy box.
Prevent unnecessary movement by using padding materials to fill any empty spaces. Seal everything tightly with sturdy tape and label each box with its contents and handling instructions.
Efficiently Pack the Computer for Safe Transport to the New Home
Computers are not only valuable financial investments but also store precious data and memories. Therefore, it’s crucial to take every possible measure to protect them during transit. Safe transport requires efficient packing, appropriate cushioning, and clear labeling to guard against potential risks like impacts, drops, and environmental factors.
Choose the Right Moving Box if You've Misplaced the Original One
If the original packaging is not available, finding the right fit becomes essential when long-distance moving. Look for a box that is sturdy and just slightly larger than your PC. This extra space allows for sufficient padding but is snug enough to prevent excessive movement.
The box should be in good condition – free from tears, dents, or weak spots. For extra protection, consider custom crating or double-boxing, where the smaller box is placed inside a larger, padded crate.
Add Ample Cushioning and Padding to Prevent Movement
Once you have the right container, line its bottom with a layer of bubble wrap or foam padding. After placing the PC case inside, fill the remaining gaps with more cushioning. This padding will absorb shocks and vibrations, providing a buffer between the item and the external environment.
Label the Box for Safe Handling and Loading Experience
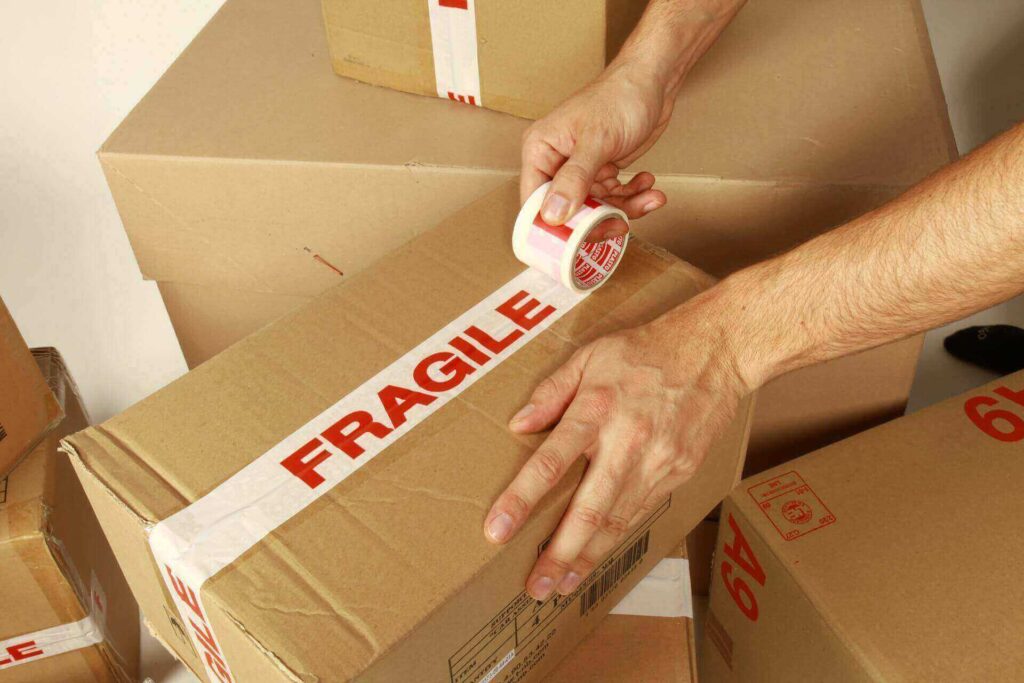
Mark the boxes with labels such as “Fragile,” “Handle With Care,” and “This Side Up.” This informs movers or anyone handling the package of its contents. Additionally, consider adding a label with a brief description of the contents and your contact information in case the box is misplaced.
How to Transport a PC and Set It up After the Relocation
Safely moving a PC to your new location is a very important phase of this process. Ensure the package is placed in a part of the relocation vehicle where it won’t be crushed by heavier objects. Also, avoid exposure to extreme temperatures or moisture.
Upon arrival, carefully unpack your boxes, referencing any photographs you took before disassembling. Start by setting up the main unit and reconnecting the internal and external components.
Carefully reattach all peripherals, such as the monitor, keyboard, and mouse, following the labels you made earlier. Once everything is connected, power on the PC to verify that all components are working correctly.
Need Help? Let the Professional State-To-State Movers Handle the Packing and Moving
Moving from state to state can be overwhelming and time-consuming if you are not sure where to start and what to do. However, if you hire a reliable company like State2State Movers, this process can be a smooth and efficient endeavor.
Our comprehensive moving services guarantee the utmost care in handling and transporting your belongings. With our professional packing solutions, we ensure that everything stays protected during transit and is delivered to you in perfect condition. Simply trust us to make this journey a seamless and worry-free experience.

With Our Company at the Helm, Your Relocation Will Be a Smooth Endeavor
Relocating a computer across the country can be daunting, but with the right help, it becomes a breeze. State2State Movers is ready to make your relocation smooth and hassle-free. We have the tools, resources, and expertise to ensure the safety of your possessions throughout the journey. So don’t delay, reach out to us today and schedule the relocation date. Let us keep your valuable electronics safe and intact.
How to Pack a Desktop Computer for Moving?
If you’re not sure how to move a desktop computer safely to the new residence, start by backing up all your data. Disassemble the PC by removing the GPU and any large coolers.
Wrap each component and the case separately in anti-static bubble wrap and place them in a sturdy box with ample cushioning. Secure the box with packing tape and label it clearly as “Fragile.”
What Is the Efficient Way to Pack a Computer Monitor?
Packing a computer monitor should start by cleaning the screen and wrapping it with a soft cloth or foam. Then, wrap the monitor in anti-static bubble wrap, ensuring all edges are protected. Place it in a crate with cushioning on all sides, and seal the box securely with tape.
How Should I Organize and Label Computer Cables and Accessories for the Move?
When moving computer accessories, start by grouping them by type. Use cable ties to keep them neat and avoid tangling. Label each cable with its corresponding device. Store everything in a separate crate and clearly label it for easy identification during unpacking.

